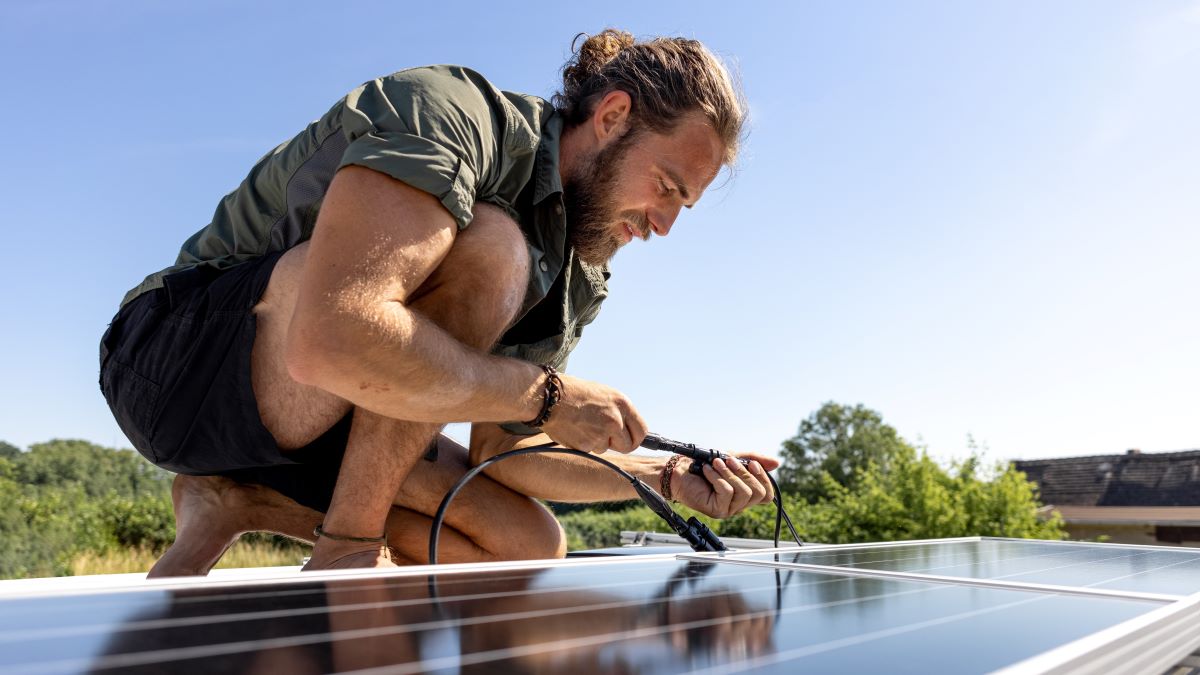
If you’re considering DIY solar, starting with a small off-grid system, such as a ground-mounted or portable unit, is significantly safer and more manageable than installing a full rooftop or grid-tied system.
Building a small off-grid system has become more straightforward thanks to advances in pre-configured kits, lithium battery technology, and modular inverters. These systems are ideal for cabins, vans, emergency backup, or supplemental power in grid-connected homes. Recent growth in plug-and-play solar kits and integrated solar generators has made off-grid setups even more accessible for beginners. And, as we covered in our previous article, many states restrict residents from connecting a DIY system to the power grid. With the right tools, simple energy-use calculations, and foundational electrical knowledge—or by using beginner-friendly solar kits—you can successfully build a small off-grid system. However, it’s crucial to follow safety guidelines and consult local regulations to avoid hazards or compliance issues.
In most jurisdictions, connecting a solar system to the electrical grid requires permits, inspections, and installation by licensed professionals to comply with building codes and utility interconnection standards. However, some states now allow simplified plug-and-play grid-tied systems or community solar participation as low-barrier entry points for homeowners.
Let’s go over how to plan, design, and install an off-grid solar power system.
Equipment and Tools Needed for a DIY Solar System
Before we talk about installing, here is a list of equipment and tools you will need:
- Solar panels: The first and obvious item you will need is a solar panel(s). Panels are the energy-producing part of the system.
- Inverter: An inverter converts direct current (DC) from the panels into usable, alternating current (AC). Most modern appliances operate on AC power, unless you choose to use a set of DC appliances for your system.
- Battery: A battery stores excess power during the day and supplies it during the night — an important task since solar panels stop working after sunset.
- Charge controller: A charge controller improves the efficiency and safety of the battery’s charging.
- Wiring: A set of wires is needed to connect all the system components.
- Mounting racks: Although optional, mounting racks are useful for placing the solar panels at an optimal angle for power production.
- Miscellaneous items: In addition to the essential items listed above, you may need the following components to complete the system:
- Fuses/breakers
- Connectors (note that many modern components come with integrated connectors)
- Cable ties
- Metering device (optional)
- Terminal lugs
- Tools: You will also require some easy-to-use tools to install the system.
- Wire stripper
- Crimping tool
- Pliers
- Screwdriver
- Wrenches
How To Design a Solar Power System
Designing a solar power system means determining the size of the system you need. This size mainly depends on the total electricity requirement of all the appliances the system will power.
To do this, list all your appliances and their power (hourly) and energy (daily) consumption. The power rating of each appliance is given in watts (W), and often noted on the appliance. You can also use online tools to find out the power consumption of your appliances.
Calculate the energy consumption by multiplying power consumption by hours of use. Once you know the power rating of all appliances you plan to run on solar, make a table with power and energy values.
Here’s a sample table. Note that values in the last column are products of the preceding two columns (watts and hours).
The above table indicates that at any point in the day, the maximum power draw from the solar panels is 470 W, and that the total energy consumed in a 24-hour cycle is 2,740 Wh, or 2.74 kilowatt-hours (kWh). Let’s see how to use these numbers to calculate the size of solar panels, inverter, and battery. We begin with the battery.

Sizing the Solar Panels
To size your solar panels, begin by finding out the average sunlight hours in your location. You can find the daily sunlight hours for any location from one of the many sources on the internet. Once you have that number, below is the simple calculation to find out solar panel size.
Total energy required (Wh) ÷ daily sunlight hours (h) = solar panel size (W)
Assuming that the location in the above example receives about 4.5 hours of sunlight daily, we have:
2,740 Wh ÷ 4.5 h = 608 W panels
Again, with some safety margin, we can use two 350-watt solar panels. These two panels will be connected in series as shown below.

Sizing the Battery and Charge Controller
Most companies now offer batteries specified in Wh or kWh. For the load profile in our above example, the battery should be able to store a minimum of 2.74 kWh. Add some safety margin to this, and we can use a reliable battery size of 3 kWh.

Selecting a charge controller is similar. Look for a charge controller with a voltage rating that matches the panel and battery voltage (e.g., 12 V). Check the controller specs to ensure its current capacity is higher than the rated current of the solar panels (e.g., use a 20A controller for 11A solar panels).
Choosing the Inverter
Your inverter selection depends on the ratings of your battery and solar panel. Choose an inverter with a power rating slightly higher than your panels. In the above example, we have 750 W panels and can use a 1,000 W inverter.
Next, make sure that the inverter’s PV input voltage matches the voltage of the solar panel (e.g., 36 V), and the battery input voltage matches the voltage rating of your battery (e.g., 12 V).
You can buy an inverter with integrated ports and connect your appliances directly to the inverter, for ease of use.

Choosing the Right Cable Sizes
For small systems like the one we are designing, cable size is not a big concern. You can choose to use a general, 4 mm cable for all your connections.
For larger systems, correct cable sizes are essential to ensure safe and optimum performance. In that case, make sure to use an online cable size guide.
Installing the System
By this point, you will have all the correctly sized equipment. This brings you to the final step — installation. Installing a solar power system is not complicated. Most modern equipment comes with ready-made ports and connectors so it’s easy to connect the components.
When connecting the components, follow the wiring diagram shown below. This will ensure that the power flows in the correct sequence and direction.

Final Thoughts
Going solar does not mean you must hire a team and spend thousands. If you are installing a simple, small off-grid unit, you can do it yourself with a little math and some basic electrical knowledge.
Alternatively, you can also choose a portable solar system, which uses a device that combines the battery, inverter, and other electronics into a single unit. All you need to do is plug your solar panels into it. This option is slightly more expensive, but is also the simplest.
Editor’s Note: Originally published on February 14, 2023, this article was updated in May 2025.
Source link
Aniket Bhor earth911.com


