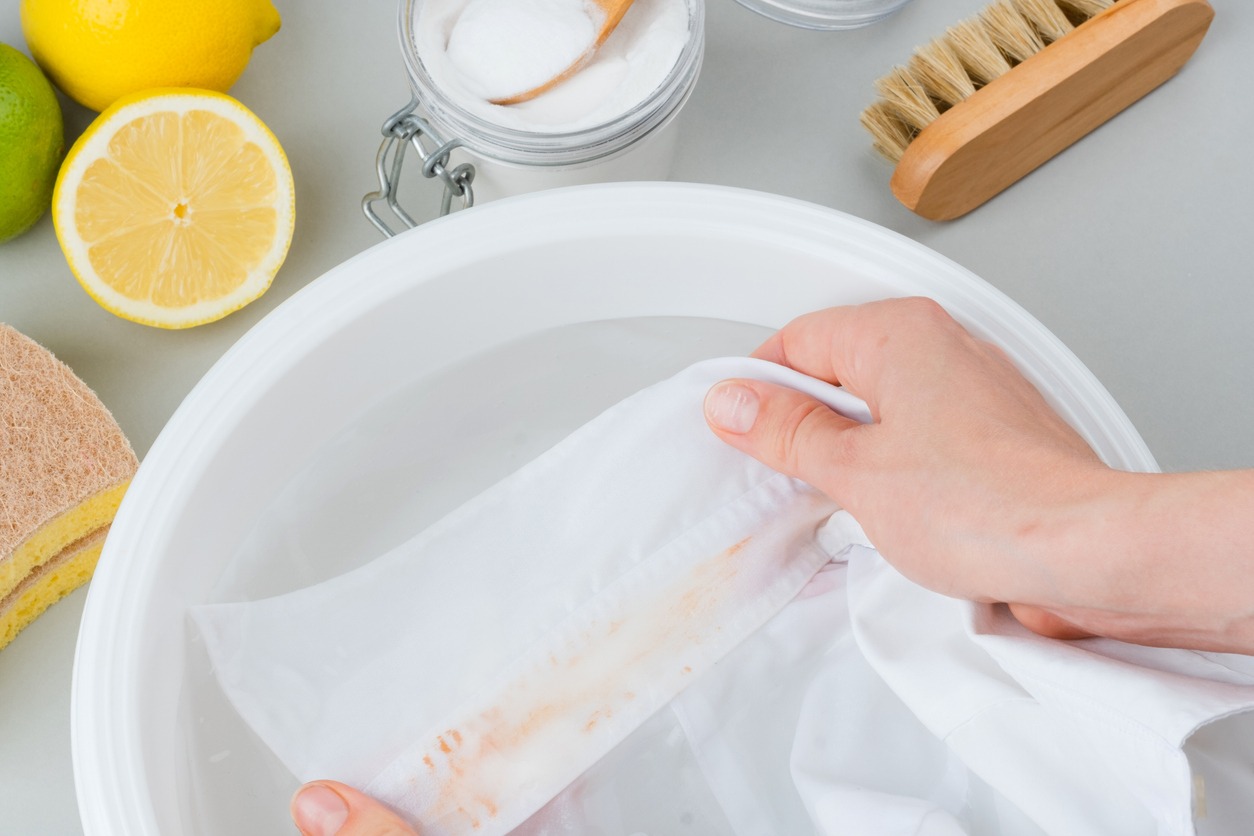
While some incredibly potent commercial stain remover products are available, you don’t really know what’s in them or what all that “silver-clean” does to your skin or body. Mixing a DIY all-natural stain remover makes sense, as you know precisely what you are scrubbing your clothes with and exposed to afterward.
One all-purpose cleaner that’s eco-friendly and ready to clean everything, from your clothes to your floors, is a real blessing.
Why Choose a Natural Stain Remover
Chemical cleaners contain, well, chemicals. These are not natural, and they can severely affect your body and health. The dyes, preservatives, fragrances and other components can cause contact dermatitis — an itchy rash that can take a long time to heal.
By making a natural stain-removing cleaner, you choose your ingredients and, you can tailor the recipe to suit your needs. It’s also a great way to save a few pennies.
Best All-Purpose DIY Eco-Friendly Stain Remover Recipe
Not sure where to begin with making your own DIY eco-friendly stain remover? Let’s start at the base with the magic ingredients.
Ingredients
The base ingredients are organic Castille soap, baking soda, hydrogen peroxide and your choice of essential oils. You can also use white vinegar to help cut down on suds or lift greasy stains — but more on that later.
Use these quantities to get started:
- Half a cup of Castille soap, the liquid, or a finely grated bar
- One cup of hydrogen peroxide, 3% strength
- One tablespoon of baking soda
- 10 drops of essential oil, optional for fragrance
Method
The basic method boils down to mixing everything in a convenient container for use, but in a little more detail, you’ll:
- Mix the baking soda, a natural exfoliator and abrasive, and the essential oil in a large glass bowl.
- Add half a cup of Castille soap and stir well until the mixture stops fizzing.
- Add the hydrogen peroxide, gently stirring until it stops fizzing again.
- Decanting the soap mix into a glass jar is better for hygiene reasons and because the peroxide may damage plastic containers.
Application Tips
The stain remover is as effective as your stain preparation, application and patience. Remember to always do a spot-check with any soap or cleaning product you use. Here are the secrets to successfully applying the stain remover to various stains on clothes and carpets.
Preparing the Stains
When cleaning a fresh stain, remove any excess stain material and liquid. Use a clean white rag, or paper towel, and dab at the stain to lift the loose particles or soak up any liquid on the fabric or rug. Try not to scrub because doing so works more of the stain into the fibers.
You can use an old toothbrush to lift particles on carpets or rugs, but avoid rubbing, which will damage the carpet’s pile.
Applying the Stain Remover
Now that your clothing item or carpet is ready, apply the stain remover — less is more. The stain remover should be like runny toothpaste, and if it’s a little dry, you can add a tablespoon or two of warm water.
Gently dab the soap mix onto the stain, but still avoid rubbing. Set a timer and let it sit on the stain for at least 10 minutes. When the stain is relatively fresh, you may hear fizzing sounds as the mix interacts with the organic material.
After the wait, use clean cotton rags to dab at the stains from the edges. Turn the rags to use a clean section to dab with each time. If the stain has lifted, you can wash your clothes with the rest of your laundry using your regular — hopefully natural — detergent.
Repeat the application process for stubborn stains and allow the new batch of stain remover to work on the stain for at least half an hour or overnight. Depending on how deeply the stain has worked into the fabric fiber, you can soak the item in a basin with more stain-removing mix stirred into the water to make a nice, soapy slurry.
You can apply more of the stain-busting mix for carpets with stubborn stains. If the second application isn’t entirely satisfactory, add half a teaspoon more peroxide to your toothbrush and spray a little warm water onto the stain, too.
Post-Stain Care
What do you do when your clothing item or carpet suddenly looks cleaner where the stain was than the rest? This problem is easily remedied — wash the clothing item with a few tablespoons of the DIY stain removal liquid to ensure an even tone on everything.
For carpets, the lighter area is likely more clean because it’s free of all the dust and particles on the rest of the rug. Simply add a few tablespoons of the mix to your regular carpet washer and give the whole rug a good wash to even out the finish.
What About a Soapy Finish?
You may find the mix leaves a slightly soapy residue, especially on carpets or floors. Add a half cup of white vinegar to your carpet cleaner with a half tank of warm water, or brush it on with a clean broom and half a bucket of warm water. A neat trick is to soak a white cotton rag in the vinegar mix, then wrap the broom head in the rag and brush this over the carpet.
The vinegar cuts through any soapy residue, and the vinegar scent quickly evaporates, so you won’t have to worry about your home smelling like a jar of pickles.
Stain Away
The appropriate cleaning solution can remove stains and doesn’t have to come from the store. With the essential ingredients in this DIY stain remover, you can clean anything from clothes and carpets to tiles and curtains.
Always do your spot check, follow the preparation and application steps, and use aftercare as needed. You can remove stains without leaving a mark on nature.
Source link
Mia Barnes biofriendlyplanet.com


